Local color
Or these.
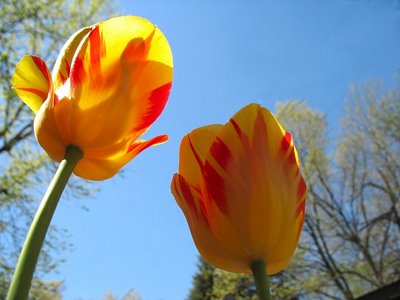
These red and yellow things live in a corner of Dope manor.
I'm not even sure what these are. But then look great and they smell like oranges. I think they're tulips.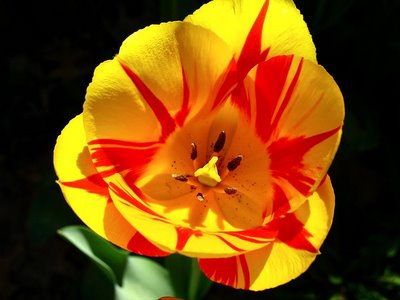
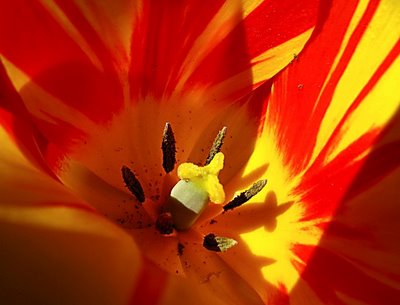
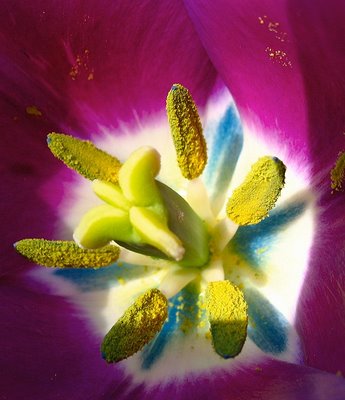
here's a graphic close up of some wide open pistils and stamens.
Not for the squeamish.
Got some pictures you'd like to share? Toss them this way via e-mail.



8 Comments:
Yes, 54th Street Moline is in full bloom!
Glad to hear it. Send in some pictures.
Wow, gorgeous pictures. You should definitely enter these in one of the online photo contests. What kind of camera and lens did you use?
Nothing fancy, that's for certain. Just a point and shoot digital, but I imagine I have a slight advantage over some in that I read the manual and actually use some of the features and settings that most people ignore.
My other secret? I take a HUGE number of pictures and play the odds. I think about what I want, and then play with the settings and take shots varying the settings, composition, lighting etc.
I figure that out of that many pictures, at least a few are bound to turn out OK. ha!
This is the great advantage of digital over film ... taking one shot costs as much as taking 200.
"Real" photograhers, however, can take great shots nearly every time. I just count on my eye and a lot on luck.
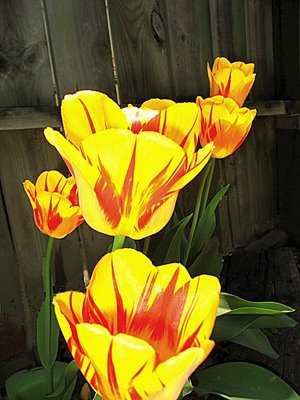
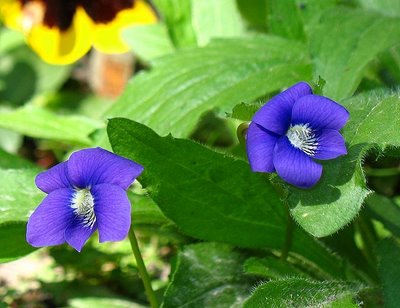
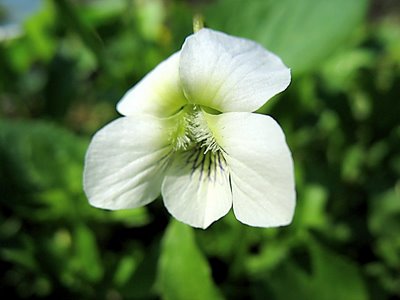
I'm not the family gardener, but Mr. Paladin tells me that the first two photos are of the Illinois State flower, the violet (who knew?). The rest are tulips.
Ya gotta love spring in the upper Midwest!
My trusty old camera was a 3.2 megapixel and it took fine pictures. After dropping it on the concrete a few times, it started acting funky (Who could blame it? I've been dropped on the concrete a few times and I haven't been the same since.)
It would show all these weird images and electronic noise in the display, and I'd have to give it a good whack with the heel of my hand. This would get its attention, and it would then straighten up and fly right and work fine.
But I eventually used this problem as an excuse to get a new camera. The one that took these shots is a 5.0 megapixel (I had to look)
But 3.2 megapixel cameras take fine pictures. One could have easily have taken the ones above with a 3.2 and not been able to tell the difference.
Any more megapixels than 3.2 offer only two advantages that I can see. One is that they will allow you to make prints at larger than 8x10 (something I've never done and likely never will) and still have good detail. And the second is that it allows you to correct too distant shots or poorly composed shots by cropping the shot considerably without degrading the resolution too badly.
Other than that, there's not much advantage. For instance, pictures displayed in browsers have only a cetain degree of resolution, and it's well within the capabilities of a 3.2 or even 1.6 megapixel camera. Any higher resolution is just wasted when displaying pictures on the web.
Without the aid of a special lens, and using the close up setting for my camera, I was able to get so close and show such detail that you can make out single grains of pollen on a flower. (see added picture above)
My advise, if anyone is interested, is learn your camera, experiment,experiment, experiment, and above all, just take a LOT of pictures. (the last time I downloaded a batch of shots from my camera there were 218 of them.)
You'll get some good and maybe some great shots, and as for all the duds, there's no harm done. That's why they invented the delete button.
Thanks for the lesson and great shots. One of my taks for the day is to reaed my manual and take some pictures. If I get any that can compare with yours, I will be pleased. you are a good teacher.
Thanks Tacky.
I should add that it's easier to first experiment with the settings of your camera while doing something like taking shots of flowers, etc. Something that will stay relatively still while you work.
But after you've taken hundreds of shots and played with the settings, it's then important to know what the settings were for the shots that turned out well. In other words, you have to get an idea of what settings achieve what effect, or else you won't be able to know how to repeat it when you're out taking regular shots.
Usually cameras record the setttings with the pictures and after you transfer them to your computer, there's a way to hover your mouse over the image and it will tell you exactly what settings were used for that shot. (as well as the date and time) Consult the software for your camera or the manual)
But failing that, you can even take notes as you shoot, or simply trust to memory if you want.
You want to find out, for instance, what works best when a subject is backlit, or how to make adjustments to make your subject in focus and the background out of focus, or which color enhancement setting works for this, but maybe not so hot for that, etc.
The trick is learning to size up the sitution, lighting, and what you're going for, and then know how to set the camera for it.
Then, you can "bracket" the shot.
That means that rather than having one shot to get everything perfect, you can shoot several shots and adjust the settings over a range.
To make it simple, imagine that you can adjust the flash from -5 to +5
If you had a situation with moderate light, but not too dim, you'd figure that maybe you should step down the flash so the shot won't be too bright and washed out, so you'd start at -2 let's say.
There's a chance that might not be right, so just to make sure (remember, digital shots are free!)
you could take one at -3 and one at -1 and "bracket" the setting (or you could take shots at every setting from -5 to +5 if you have the time)
That ups the odds that you'll get it just right.
You can use bracketing with appeture settings, shutter speed, or any other adjustible setting.
Another hint is to think differently when composing your shots.
We've all seen a million snapshots, and 90% of them are taken from eye height. If it's of a kid, it's looking down on them, if it's of a tree, it's looking up.
Try to avoid that. Find a different perspective.
If your subject is small, like a child, try getting down low and taking it from their level, or actually shooting up at them (see the shots from under the flowers... you don't see that perspective much, so it's more interesting.)
Anytime you can get away from the "usual" perspective, do it.
The same holds true for framing the picture. Subjects smack dab in the center are ok, but sometimes consider putting it in one of the four corners or slightly off center and see how it looks.
Also, pay attention to your background, a lot of people don't.
Granted, sometimes you simply can't do much about it, but if possible, try to make sure that the background doesn't contain too many distracting elements which would take away from the subject.
If you're taking a shot of some friends, it's kind of weird if there's a clock or a lamp or something sticking out of one of their heads, or some weirdo is walking past just behind them. Try to keep the background simple and avoid distracting stuff like signs, etc. if possible.
And here's where learning to use depth of field comes in. If you can't avoid a cluttered background, you can learn to adjust the camera appeture setting so that the subject is in focus, but the background is thrown out of focus. This makes the subject stand out as you want. (but to make it more complicated, apeture affects shutter speed and they all depends on the lighting situation.)
But again, get out there and take lots of pictures of whatever grabs your interest, preferably something very patient, like a flower or some peeling paint or whatever holds still. Spend a half hour taking shots of one dandilion or something, trying different angles and settings.
You have to not be afraid to have your neighbors wonder what the hell you're doing out in the yard down on all fours with your ass in the air and your face a few inches from the ground, but hey, it's likely not the first time they've thought you were nuts, so don't sweat it. (besides, I know your neigbors, and they've done MUCH weirder things themselves.)
With a little time and effort, you'll then be able to use some of the tricks you've learned when you're later taking "one chance" kind of pictures of people or events.
And... if you get any results you're particularly proud of, send them in via e-mail and maybe they'll get posted and all the tens of Dope readers will get to see your inner artistic genius.
And don't say you never learned anything from reading The Dope. ha!
Post a Comment
<< Home